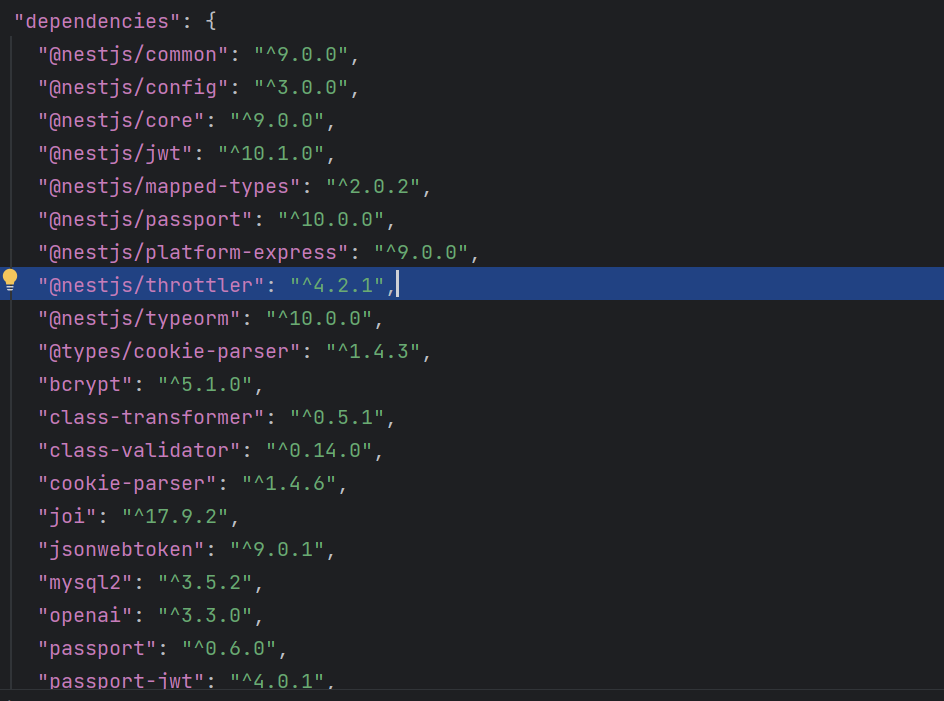
해커톤 동안 프로젝트를 하면서 요청을 제한해야 할 일이 생겼다. chatGPT를 사용한다는 것이 그 이유인데, 처음엔 chatGPT billing 문제로 인해 요청을 제한하고 싶었는데, 다른 곳(사용자 인증과 연관된 곳)에서도 써야 될 것이라 생각해 전역으로 적용하기로 했다. 사용 방법은 다음과 같다.
우선, NestJS에서 제공하는 throttler 패키지를 설치한다.
yarn add @nestjs/throttler

설치가 잘 되었다면, rate limiting의 구체적인 내용을 정하면 된다.
AppModule에서 ThrottlerModule을 import 할 때 정하면 된다.
@Module({
  imports: [
    ThrottlerModule.forRoot({
      ttl: 60,
      limit: 10,
    }),
  ],
})
export class AppModule {}
위 코드는 60초 동안 10번으로 요청을 제한한다는 코드이다.
AppModule의 provider로 등록하면 프로그램 전역에서 사용할 수 있다. APP_GUARD이므로 전역에서 실행된다.
// AppModule
providers: [
  {
    provide: APP_GUARD,
    useClass: ThrottlerGuard,
  },
]
만약, Throttler를 특정 Controller 에서는 사용하고 싶지 않다면
// UsersController
@SkipThrottle()
@Controller('users')
export class UsersController {
....
@SkipThrottle() 데코레이터를 controller에 붙이면 된다.
혹은, 특정 API에서만 사용하고 싶지 않다면
// UsersController
@SkipThrottle()
@Get()
profile(@AuthUser() user: User): ProfileRes {
....
@SkipThrottle() 데코레이터를 API 함수에 붙이면 된다.
혹은, 특정 Controller에서만 사용하고 싶다면 해당 Controller의 module에서만 Throttler를 import 하면 된다.
NestJS는 Throttler를 ip 를 기반으로 적용하기 때문에 proxy처럼 접속을 우회해서 요청하는 경우 제대로 작동하지 않는다. 따라서 proxy 설정을 해 주어야 한다. 우선 proxy 서버 뒤에서 우리 애플리케이션이 실행될 수 있도록 trust proxy 설정을 해 주자.
NestJS 는 express 혹은 fastify 둘 중 하나를 기반으로 돌아간다.
필자는 express 사용하기로 했다.
main.ts에 해당 내용(trust proxy)을 추가해준다.
// main.ts
async function bootstrap() {
  const app = await NestFactory.create<NestExpressApplication>(AppModule);
  app.set('trust proxy', true);
  await app.listen(3000);
}
bootstrap();
이제 기존의 ThrottlerGuard를 상속받아 헤더에서 원본 ip 주소를 가져오는 ThrottlerBehindProxyGuard를 만들면 된다. 공식 문서에 나와있는 코드는 다음과 같다.
// throttler-behind-proxy.guard.ts
import { ThrottlerGuard } from '@nestjs/throttler';
import { Injectable } from '@nestjs/common';

@Injectable()
export class ThrottlerBehindProxyGuard extends ThrottlerGuard {
  protected getTracker(req: Record<string, any>): string {
    return req.ips.length ? req.ips[0] : req.ip; // individualize IP extraction to meet your own needs
  }
}
이 파일을 추가했다면, 사용하고 있던 ThrottlerGuard를 ThrottlerBehindProxyGuard로 바꾸면 된다.
'NestJS' 카테고리의 다른 글
| CORS, credentials (0) | 2023.08.30 |
|---|---|
| NestJS에서 openAI API 연동으로 ChatGPT 활용하기 (0) | 2023.08.30 |
| Provider (0) | 2023.07.24 |
| Controller (0) | 2023.07.20 |
| NestJS의 프로젝트 구조 (0) | 2023.07.18 |
